
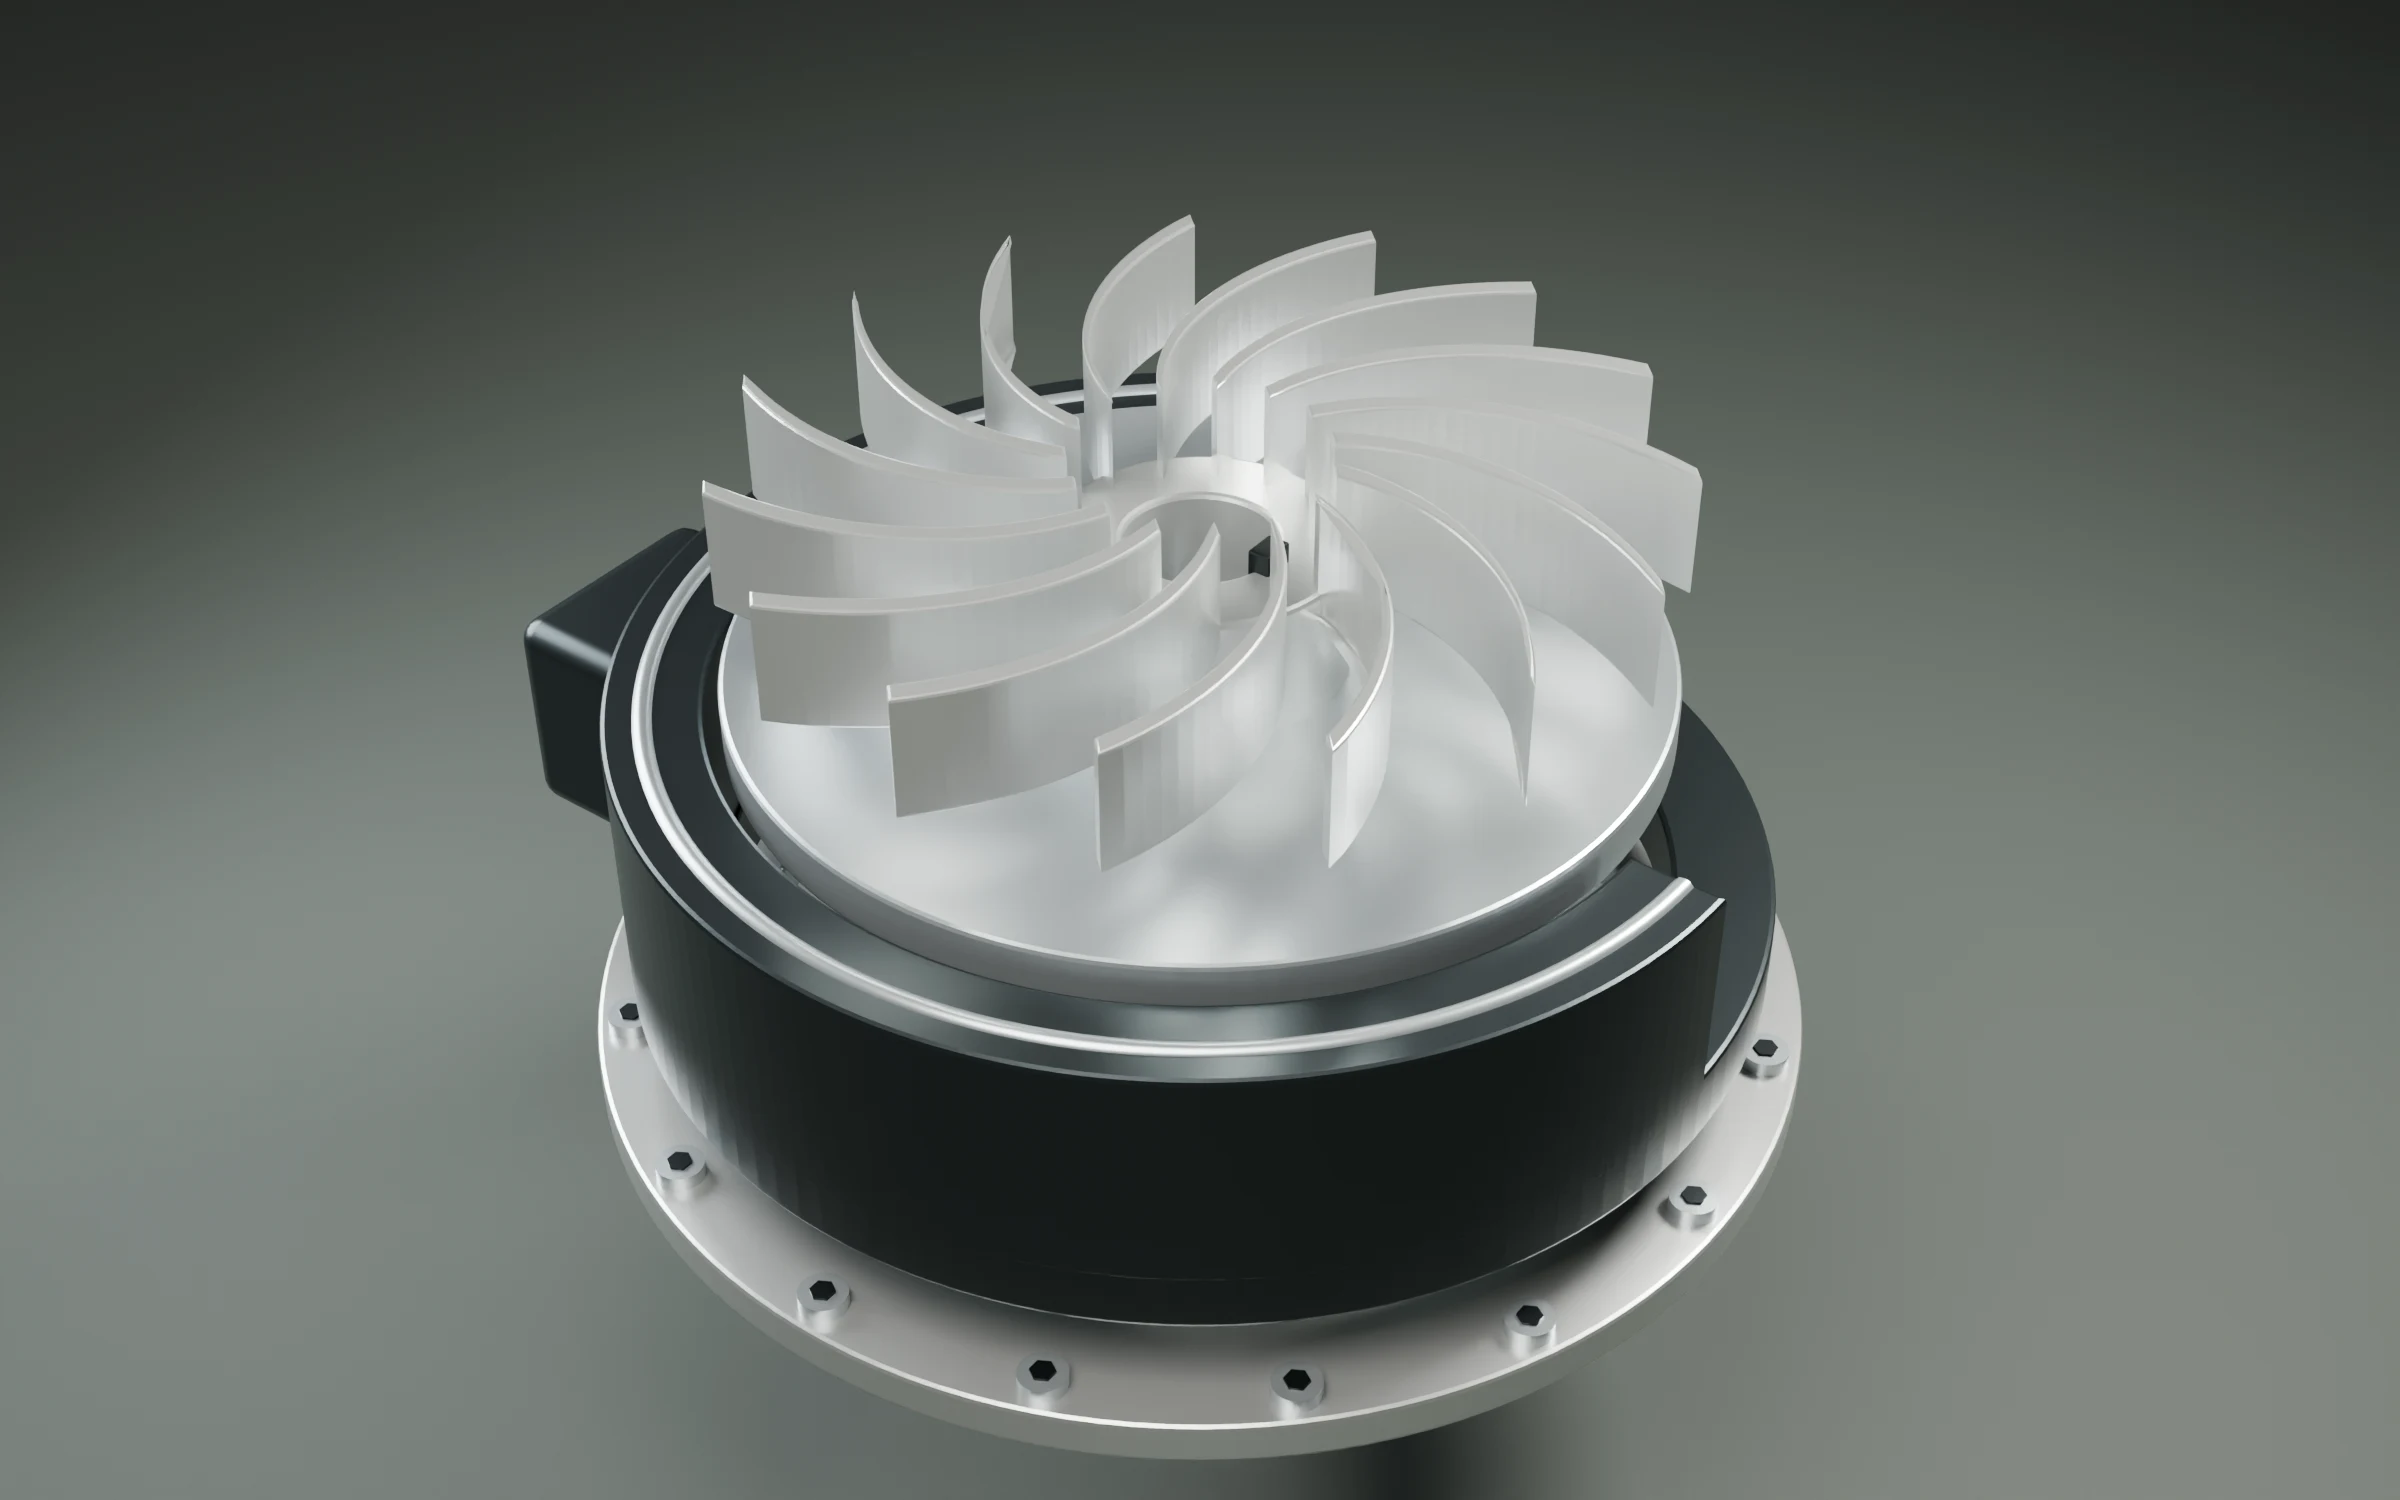
First, know what a “part” is in your file
A part is only editable in isolation if the file says it exists. Three arrangements are common, and they behave completely differently when you try to change one thing.
- Separate named objects — the good case. Each part is its own node with a name, and selecting it is one click. glTF/GLB, FBX and most CAD exports can carry this.
- One merged mesh with material groups — you can select by material, which often approximates parts, but a leg and a rail sharing oak are one selection.
- One merged mesh, one material — the hard case. Nothing but geometry. You are selecting loops and islands by hand before any edit begins.
Before anything else, open the outliner and look. If the model arrived as a single object, your first job is to separate it — in Blender, select the mesh, enter Edit Mode, hover a part and press L to grow the selection over connected geometry, then P → Selection. Name what you split as you go, because the names are what every later step depends on.
Decide the scope before you touch anything
Scope is the set of parts a change is allowed to affect. Writing it down first is the single habit that prevents most rework, because it turns a vague intention (“increase the gripper reach”) into a checkable one (“extend the jaw inserts; the carriage, drive and mounting flange keep their current dimensions”).
- One part — a single named object. The safest scope, and where you should start.
- A repeated group — repeated blades, sixty façade mullions, sixteen stanchions. Treat them as one target so they stay identical to each other.
- A part and its neighbours — when a change moves a mounting point, the parts that meet it belong in scope too, or you will discover the gap later.
- The whole model — proportional scaling, unit conversion, re-origining. Rare, and worth being deliberate about.
Write down what must not change
Every part edit has an invisible second half: the constraints. A jaw insert can be extended, but its mounting pattern, carriage interface and sensor clearance remain review targets. If you do not record those numbers before the edit, you cannot tell afterwards whether they survived.
- 01Measure the partRecord the bounding box of the part you are about to change, in millimetres, plus the position of any face that mates with something else.
- 02Measure its neighboursRecord the same for whatever touches it. These are the numbers you will compare against, and the ones a reviewer will ask about.
- 03State the intentWrite one sentence: what changes, and what is expected to stay identical. This is the sentence you check the result against.
Make the edit, part by part
With scope and constraints fixed, the edit itself is usually small. Work on the part in isolation — hide or lock everything else — so a stray click cannot move a neighbour without you noticing.
- 01IsolateHide or lock every part outside the scope. In Blender, select the part and press / for local view.
- 02Change one property at a timeRadius, then bow, then thickness — not all three at once. A single-property change is one you can undo cleanly when it turns out wrong.
- 03Keep the originEdit in Edit Mode, or reset the object transform afterwards, so the part's origin stays where the rest of the file expects it.
- 04Rebuild rather than sculpt where you canIf a part is parametric — a bar swept along a path, a panel with a corner radius — regenerating it from new parameters gives a cleaner result than pushing vertices.
- 05Re-check the constraintsMeasure the same numbers you recorded. Any that moved, moved by accident.
Repeated parts: change them together or not at all
The classic failure is editing one of repeated blades. It looks right in the viewport from the angle you were working at, and it is wrong from everywhere else. If parts repeat, either link them so one edit propagates, or select all of them as a single scope.
- In Blender, linked duplicates (Alt+D) share mesh data — edit one, and every instance follows.
- In glTF/GLB, repeated parts can reference the same mesh from multiple nodes, which is how the free building here carries sixty columns in 105 KB.
- Whatever the tool, after the change, count. Four legs before, repeated blades after, all with the same dimensions.
Review the change like someone else made it
Comparing the result against the original is the step people skip, and it is the one that catches the expensive mistakes. Keep the previous version of the file rather than overwriting it, so a comparison is possible at all.
- Fix the camera and flip between versions. A change you can only see by orbiting is a change you cannot review.
- Compare part counts and triangle counts. A part that vanished or split usually shows up here first.
- Re-measure the constraints, not the thing you changed. You already know the new shape is new.
- Check the parts you did not touch. A mistaken selection is silent until it is not.
Where Refora fits
Refora is built around exactly this loop: import a model, select the part or the repeated group, describe the change in plain language, and read a plan that lists the operations and the scope they will touch before anything is applied. Applied changes create a version you can return to and compare against.
Questions
- How do I select just one part of a 3D model?
- If the file has named objects, click the part in the outliner. If it is one merged mesh, enter Edit Mode, hover over the part and press L to select the connected geometry, then separate it into its own object with P → Selection and name it. Doing that once makes every later edit a single click.
- How do I change one part without moving the others?
- Isolate the part before editing (hide or lock everything else), edit in Edit Mode so the object origin does not shift, and record the dimensions of the neighbouring parts before and after so you can prove nothing moved.
- What if the model is a single mesh with no parts?
- Separate it first. Select connected geometry with L, split with P, and name each piece. It is tedious once and saves time on every subsequent change — and it is why the free models here ship pre-split.
- How do I edit all repeated blades at once?
- Either make them linked duplicates so they share mesh data, or select all four and treat them as one scope. Editing one and eyeballing the rest is the most common way a model quietly becomes asymmetric.